Set the IP Address to your interfaces, keep the interface e3 and e4 enabled, that two interfaces we will use as our failover control link and failover state link.
Connect to your ASA1 using ASDM.
Choose the High Availability and Scalability Wizard
Choose the option "Configure Active/Standby Failover
Provide the IP Address of your standby ASA's. Please note that you can give the IP address of an interface where you enabled ASDM access. After you provide the IP address, please click on next and then the ASDM will start the compatibility checking with the peer. If any check is not success, then you have to correct that issue and come back.
Here you have to specify a failover LAN link IP address, Also provide the secret key for failover configuration and the same key we have to use in our Secondary Unit.
Here you have to specify a state link between the active and secondary device, you can also use the same failover link as your state link, but it is always better to have a state link separately.
Here you can provide your Standby Addresses; the addresses of your standby unit.
Once you have done the configurations, click on finish.
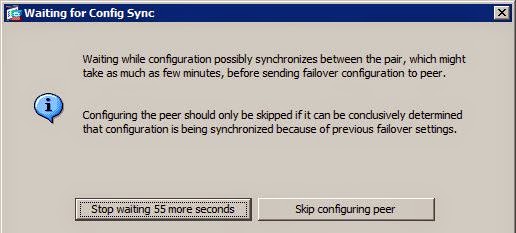
Please do not skip the configuration if you are configuring Failover for the first time, if you are configuring it for the second or more, if the standby configurations are already made, then you can skip configuring the peer, otherwise please wait and the Active ASA unit will send the configuration commands to the Standby unit.
These are the configurations that Active ASA is going to send to the Standby ASA. Click on Send.
Once it send the configuration, you can see the configuration completed screen.
Once you finish the configurations, you can check it on your monitoring--properties--Failover--Status
After the failover configuration, whatever changes you make in the Active Appliance, it will be replicated to the Standby Unit.
Here you can see that the configuration that we made in the Active is synchronized to the Standby Unit.
Thank You.


